
创建型设计模式
创建型模式
工厂方法
定义:是一种创建型设计模式,其在父类中提供一个创建对象的方法,允许子类决定实例化对象的类型

注意:返回的产品需要共同的基类
组成:产品、具体产品、创建者、具体创建者
适用场景
- 当你在编写代码时,如果无法预支对象确切类别和具体关系时,可采用工厂方法
- 若果希望用户能扩展你的软件库或者框架的内部组件,可使用工厂方法
- 如果你希望复用现有对象而节省资源,而非每次都重新创建对象,可使用工厂方法
代码实例
1 | class product {}; |
- 实现方式
- 让所有产品遵循同一接口,该接口必须声明对所有产品都有意义的方法
- 即提供一个模版父类,其具体实现交由其子类
- 创建类中添加一个空的工厂方法,返回类型必须遵循通用的产品接口
- 在创建者代码中,将构造产品的部分,均完全替换为对工厂方法的调用
- 让所有产品遵循同一接口,该接口必须声明对所有产品都有意义的方法
- 优缺点
- 避免创建者和具体产品之间的精密耦合
- 单一职责原则,可以产品的创建代码放在程序的一个位置,从而使得其更容易维护
- 开闭原则,无需更改现有代码,而引入新的功能
- 缺点:引入工厂方法,会需要引入许多新的子类
抽象工厂
- 定义:抽象工厂是一种创建型设计模式,他能创建一系列的相关对象,而无需指定其具体类
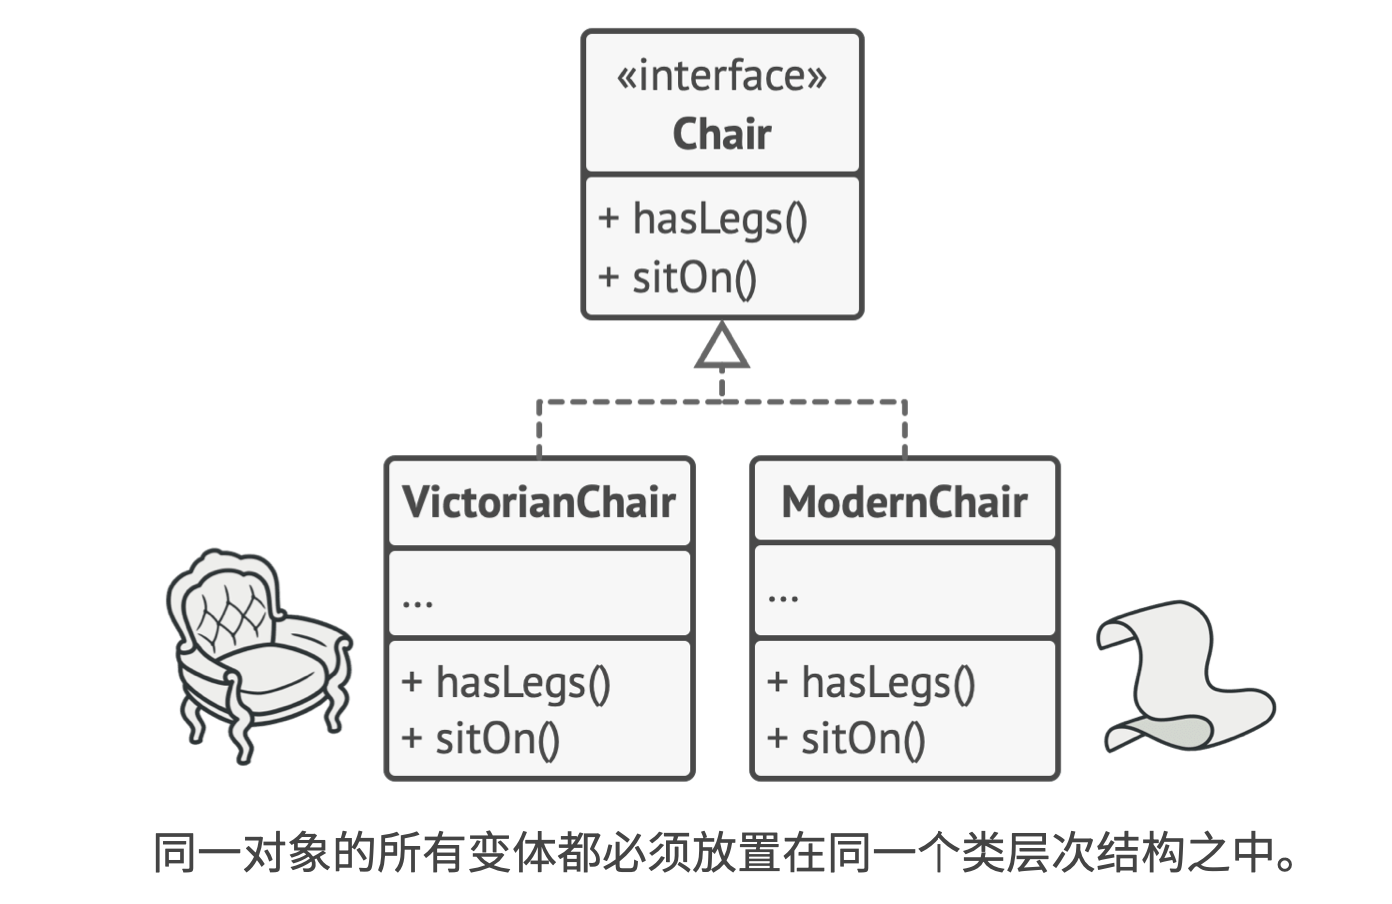
组成:抽象产品、具体产品、抽象工厂、具体工厂
个人理解:较之工厂模式,新增了对多种产品和工厂的支持,以适用于更为复杂的场景
适用场景
- 如果代码需要与多个不同系列的产品交互,出于对未来扩展性的考虑,可采用抽象工厂
- 如果你有基于一组抽象方法的类,且主要功能不明确
实现方式
- 以不同的产品类型与产品变体为维度绘制矩阵
- 为所有产品声明抽象产品接口,然后让所有具体产品类来实现此接口
- 声明抽象工厂接口,并且在接口中为所有抽象产品提供一组构建方法
- 为每个产品变体实现一个具体工厂类
- 找出代码中所有对产品构造函数的调用,替换为工厂对象中相应的构建方法
优缺点
- 保障同一工厂生成的产品相互匹配
- 你可以避免客户端和具体产品代码的耦合
- 单一职责原则、开闭原则
- 缺点:由于引入了众多的类和接口,代码可能更为复杂
生成器模式
定义:生成器是一种创建型设计模式,使你能够分步骤创建复杂对象。该模式允许你使用相同的创建代码生成不同类型和形式的对象

生成器模式建议将对象构造代码从产品类中抽泣出来,并将其放在名为生成器的独立对象中
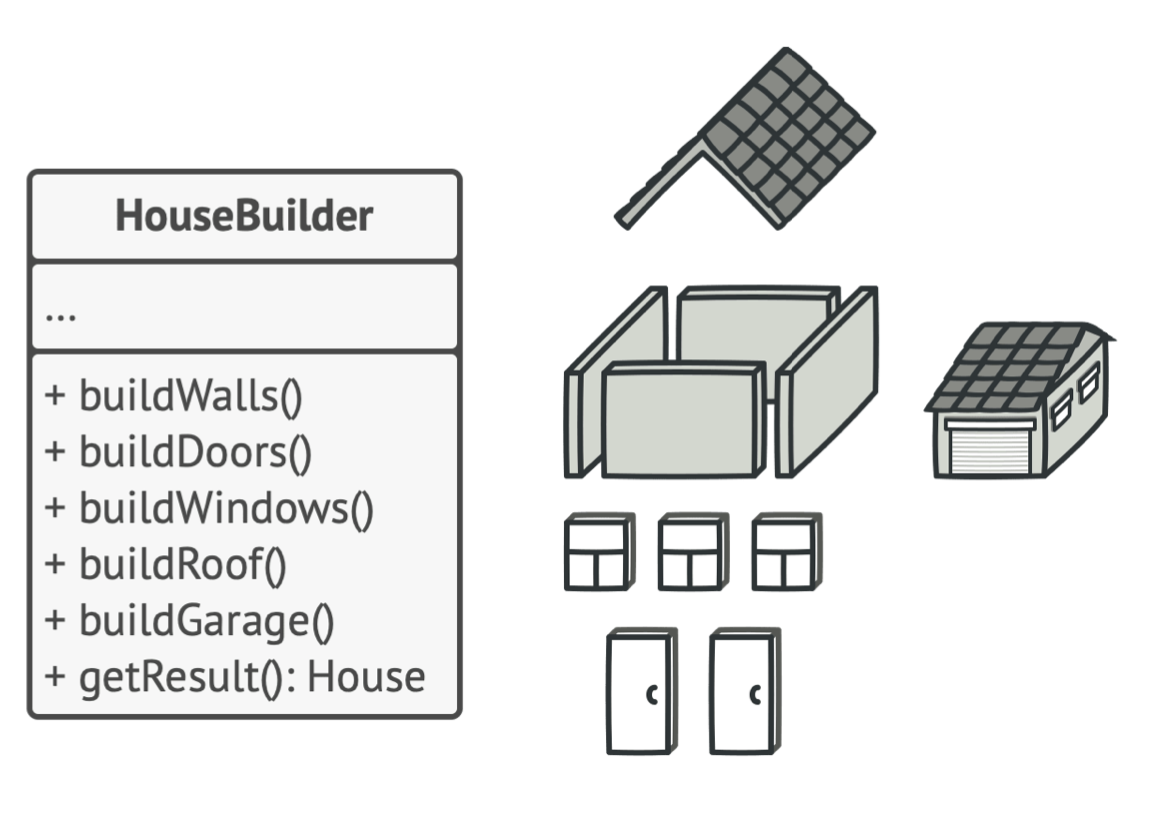
- 其中,可通过主管类来定义创建步骤的执行顺序,而生成器则提供这些步骤的实现
- 组成:生成器、具体生成器、产品、主管、客户端
- 实现代码
1 | /** |
- 适合场景
- 使用生成器模式,可以避免重叠构造函数
- 在C++中采用委托构造函数也可实现相同的需求
- 当你希望使用代码创建不同形式的产品,可采用生成器模式
- 使用生成器构造组合树或其他复杂对象
- 使用生成器模式,可以避免重叠构造函数
- 实现方法
- 清晰的定义通用步骤,确保可以制造所有形式的产品
- 在基本生成器接口声明这些步骤
- 为每个形式的产品创建具体生成器类
- 考虑主管类(用于指导生成器调用顺序)
- 客户端代码会同时创建生成器和主管对象
- 优缺点
- 可分布创建对象
- 生成不同形式的产品是,可复用相同的制造代码
- 单一职责原则
- 缺点:该模式需要新增多个类,因此代码的整体复杂度可能有所增加
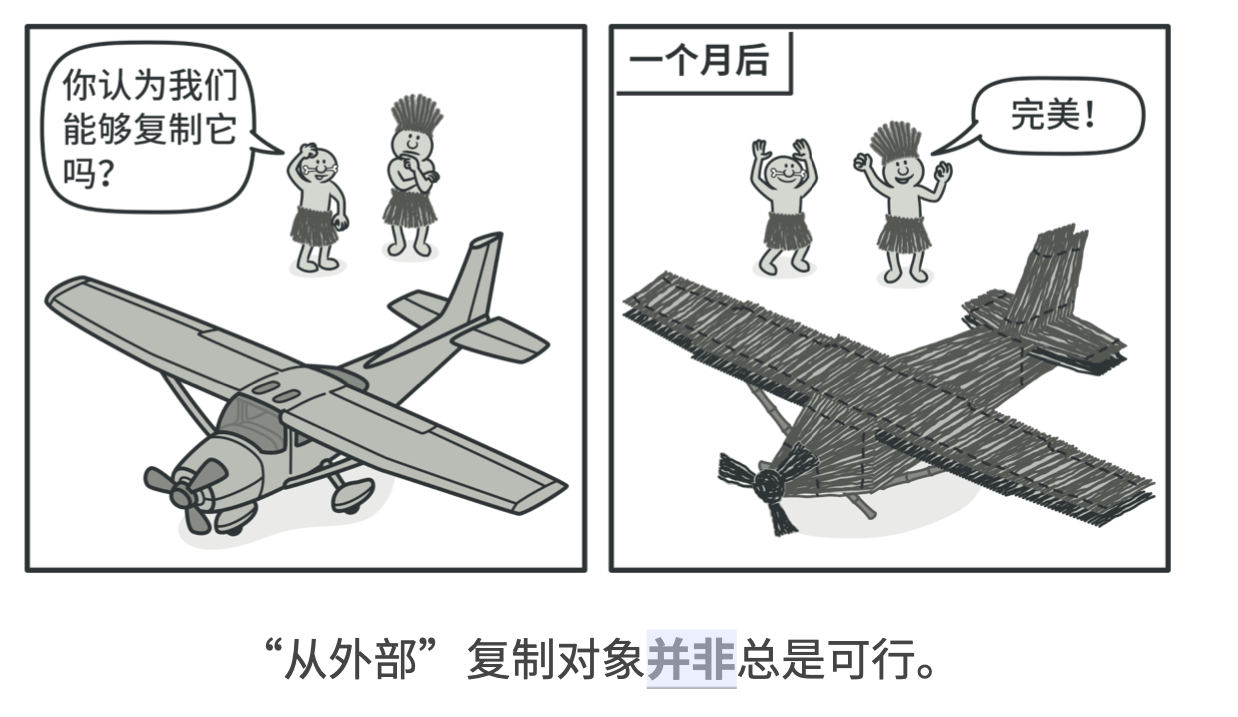
原型
定义:原型是一种创建型设计模式,使你能够复制已有对象,而又无需使代码依赖他们所属的类
- 由于从外部复制对象总非是可行的,毕竟有私有对象的存在
组成:原型、具体原型、客户端(原型注册表hash)
适用场景
- 如果你需要复制一些对象,同时又希望代码独立于这些对象所属的具体类,可使用原型模式
- 如果子类的区别仅在于对象的初始化方式,那么可以采用此模式减少子类的数量
实现方式
- 创建原型接口,并且声明克隆方法
- 原型类必须另行定义一个以该类对象为参数的构造函数
- 拷贝构造函数
- 克隆方法通常只有一行代码,使用
new调用原型坂本的构造函数 - 你可以创建一个中心化原型注册表,用于存储常用原型
优缺点
- 你可以克隆对象
- 你可以克隆预生成原型,避免反复运行初始化
- 你可以更方便生成复杂对象
- 你可以用集成以外的方式来处理复杂对象的不同配置
- 缺点:克隆包含循环引用的复杂对象可能会非常麻烦
1 |
|
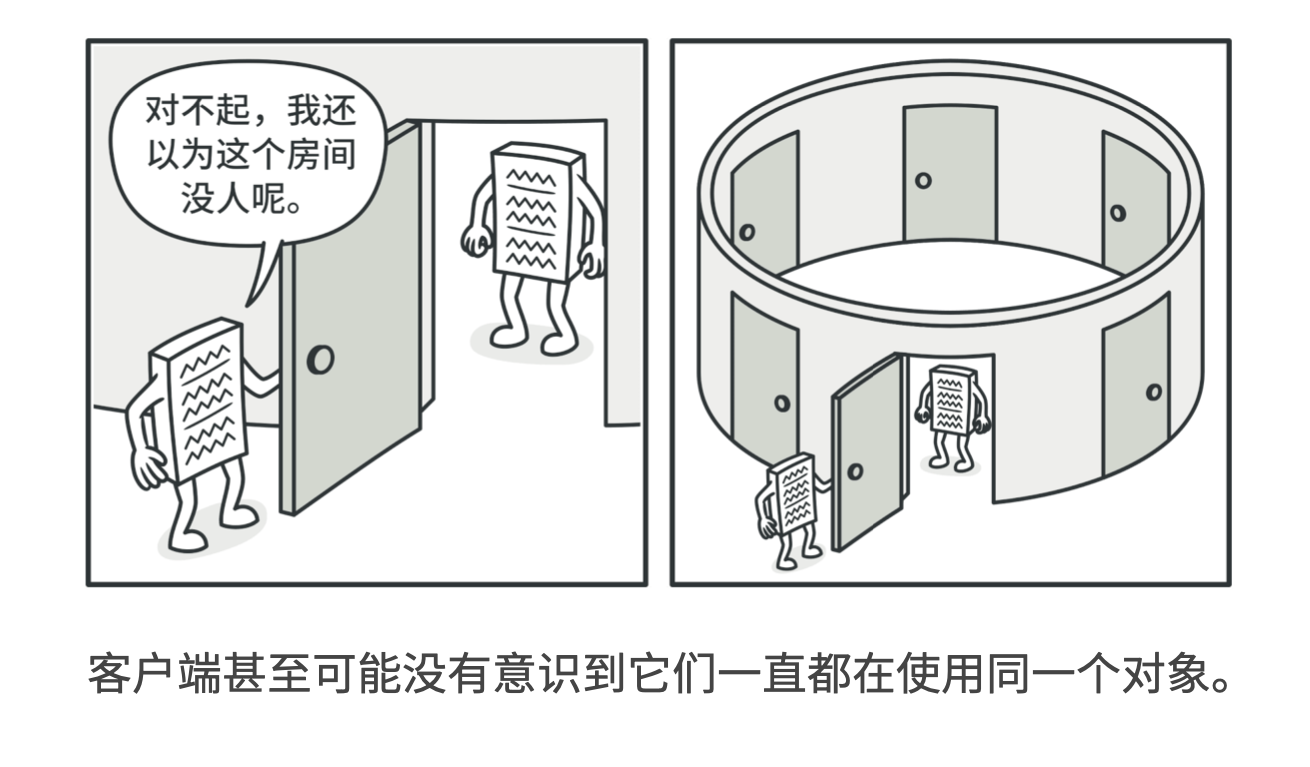
单例
定义:单例是一种创建型设计模式,让你能够保证一个类只有一个实例,并提供一个访问该实例的全局节点
- 保障一个类只有一个实例
- 无法通过构造函数实现
- 用于对共享资源的控制
- 为该实例提供一个全局访问节点
- 保障一个类只有一个实例
解决方案
- 将默认构造函数设为私有
- 新建一个静态构建方法作为构造函数
组成:单例
适合使用场景
- 如果程序中某个类对所有客户端都只有一个可用的实例
- 如果你需要更加严格地控制全局变量
实现方式
- 在类中添加一个私有静态成员变量用于保存单例实例
- 声明一个公有静态构建方法获取单例实例
- 在静态方法中实现
延迟初始化,即首次调用创建新对象,并存储在成员变量中,此后该方法都返回先前存储 - 将累的构造函数设为私有
- 检查客户端代码,将对单例的构造函数调用替换为静态方法的调用
优缺点
- 你可以保证一个类只有一个实例
- 你获得了一个指向该实例的全局访问节点
- 仅在首次请求单例是对其进行初始化
- 违反了单一职责原则
- 单例模式可能掩盖不良设计
代码实现
1 | // 饿汉式单例模式 程序启动便初始化 |

Invitation
夕阳的刻痕
781263509
created:03/09/2020
Welcome, myFriend
Use this card to join the candyhome and participate in a pleasant discussion together .
Welcome to Aker’s candyhome,wish you a nice day .
本博客所有文章除特别声明外,均采用 CC BY-NC-SA 4.0 许可协议。转载请注明来自 Aker's Blog!
 wechat
 alipay


评论